In iOS 11 or later, you will have a new image format know as HEIC. But in some cases you will not be able to open them. Specially, windows OS still does not support HEIC format. So, in the following video, you will get to know how to convert HEIC to JPG format. And you may have a look on text based tutorial right after this video.
How to convert HEIC to JPG or PNG ?
Well, you need to download an application first called iMazing. And you can get if from
https://imaizng.com
Once you downloaded that and installed, open it. You will find as iMazing HEIC Converter on your program folder. It looks like below image.
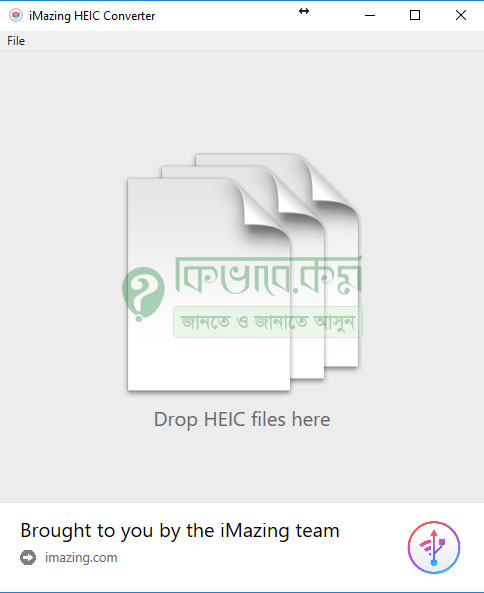
Now you need to drag your HEIC files and drop in into the application. After Drag and Drop files, you will get some options below as red marked.
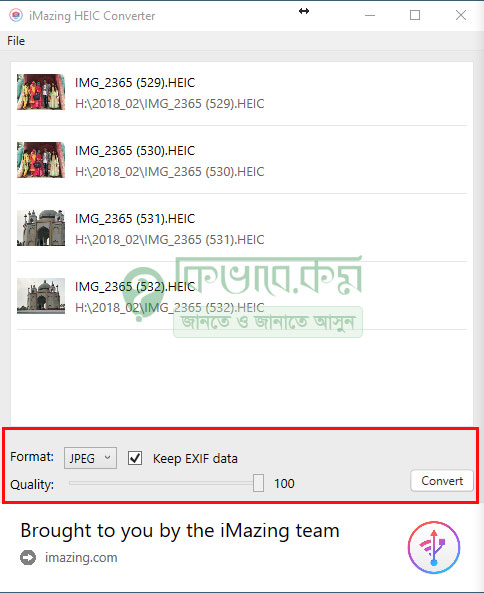
Now Choose the format and quality as you want. You will have only 2 format JEPG and PNG. If everything set, Click on that Convert button. Then you will have to set your output folder. It will come like below photo.
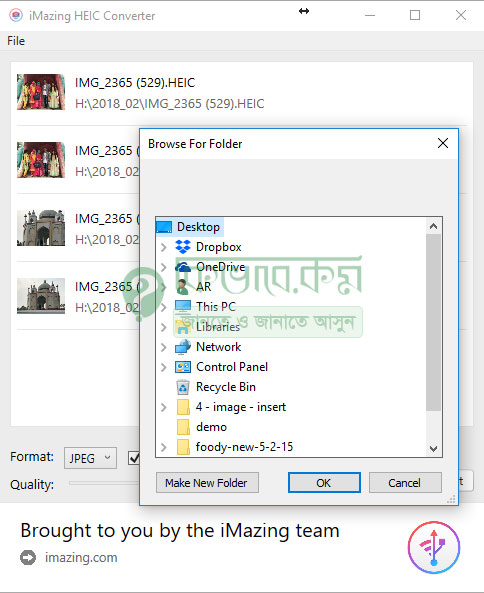
In my case, I am choosing Desktop. Once you choose output folder, Click to okay. And it will start converting your HEIC photo. A green progress bar will come and let you know the status. Based on file number and machines performance , it may take some time to convert all those files into JPG or PNG as you decided.
Once done, you will get a Conversion Successful message like blow.
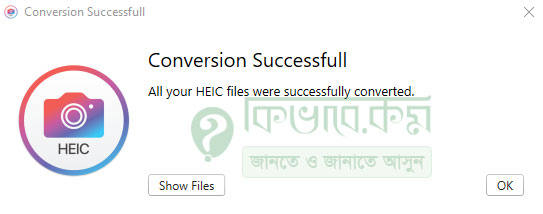
Yes, its done now. Click on that Show Files button to get those converted files. Easy steps, enjoy it 🙂 If you are looking for a online photo editor, may have a look on out article about Online Photo Editor.
