গুগল ড্রাইভে ফাইল হোস্ট করবো কিভাবে
গুগল ড্রাইভ হল গুগলের একটি সার্ভিস যা গুগল একাউন্টের সাথে ফ্রি পাওয়া যায় এবং এখানে গুগল তার ইউজার দের ফ্রি ১৫ জিবি ডাটা রাখবার সু্জোগ দেয় । আজ আমরা জানবো কিভাবে গুগল ড্রাইভে ফাইল হোস্ট করা যায় । যদিও গুগল তাদের গুগল ড্রাইভে ফাইল হোস্টের সার্ভিসটি অচিরেই বন্ধ করে দেবে বলেছে এবং সেটি করতে যাচ্ছে August 31, 2016 এর পর থেকে এবং এখানে Server Side script, যেমন PHP বা ASP তে করা পেইজ গুলো Execute হবেনা । তথ্য সুত্র : https://support.google.com/drive/answer/2881970?hl=en
গুগল ড্রাইভে ফাইল হোস্ট করবো কিভাবে ?
প্রথমে https://drive.google.com/ এ যান, (একটি গুগল একাউন্ট লাগবে, সেটা হতে পারে জিমেইল একাউন্ট ও ) আপনি আপনার আপলোড করা ফাইল গুলো দেখতে পাবেন যদি আগে থেকে কোন ফাইল আপলোড করা থাকে, অন্যথায় ফাকা পাবেন ।
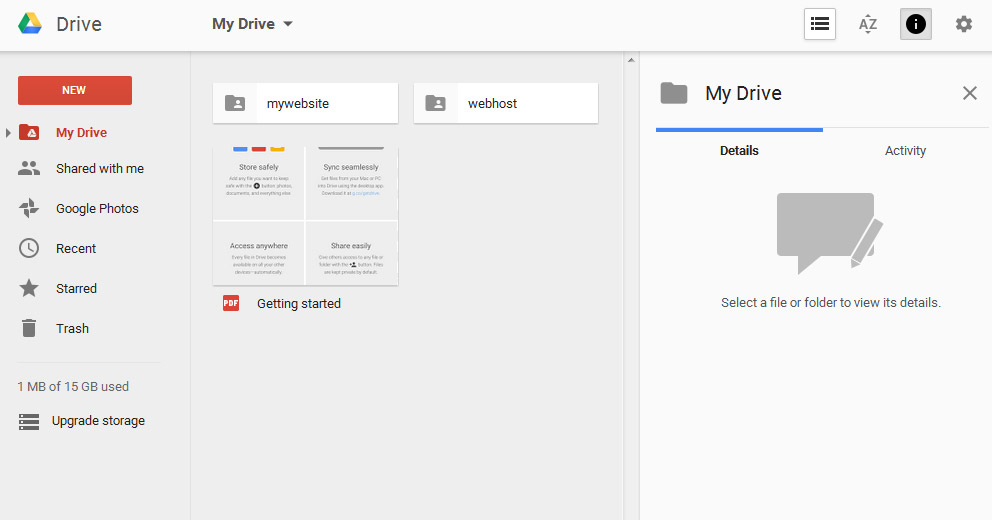
google drive file folders
এরপর বাম পাশে NEW লেখা লাল বাটনে ক্লিক করে Folder এ ক্লিক করুন ।
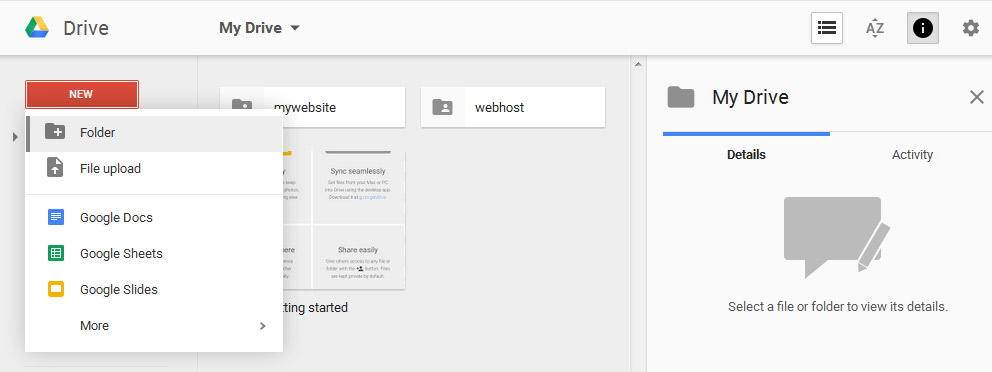
click to red new button
এর পর ফোল্ডারের নাম দিয়ে Create এ ক্লিক করবেন ।
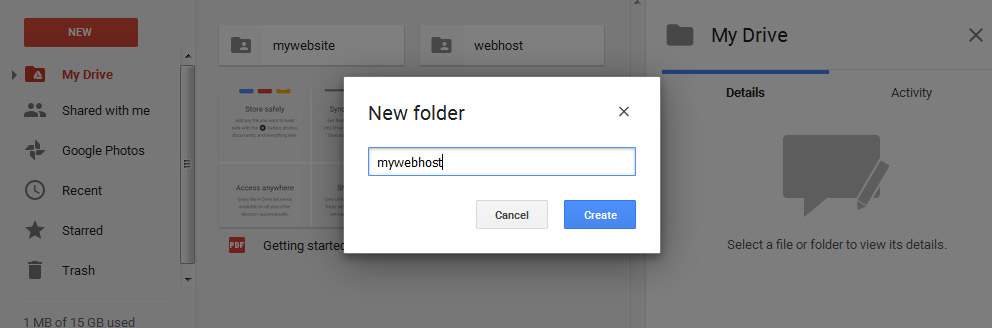
create new folder in google drive
Folder টি তৈরি হয়ে গেলে ডাবল ক্লিক করে তার ভেতরে ঢুকুন । এবার ফাকা জায়গায় রাইট ক্লিক করে Upload Files এ ক্লিক করুন ।
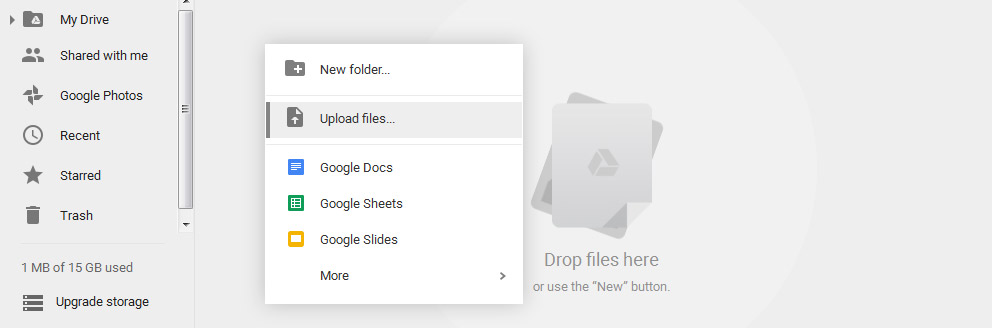
upload files on google drive
একটি ফাইল ব্রাউজার ওপেন হবে । আপনার যে ফাইল গুলো হোস্ট করা দরকার সে ফাইল গুলো ব্রাউজ করে সিলেক্ট করে ওপেন এ ক্লিক করুন । একটু পর দেখবেন ফাইল গুলো আপলোড হচ্ছে ।
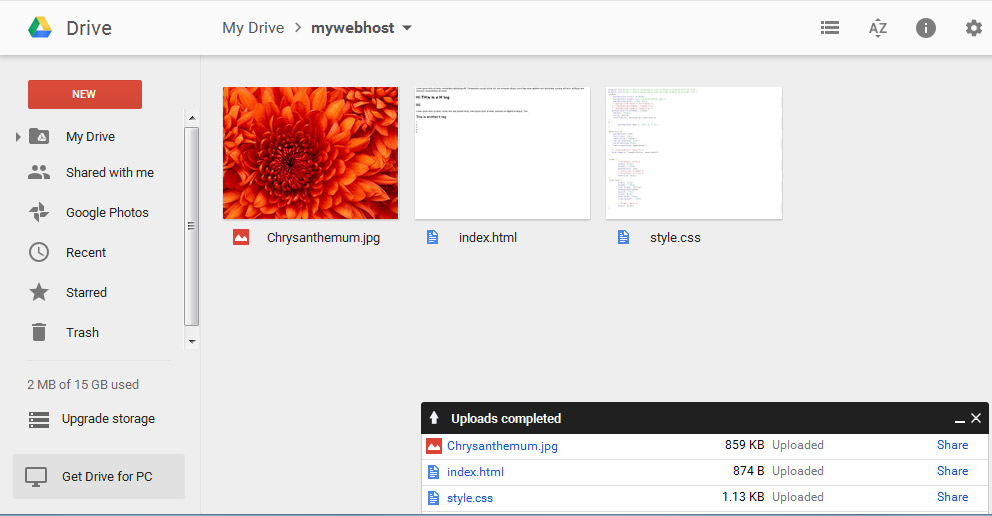
uploading files in google drive
যদি এই ফোল্ডারের ভিতরে কোন ফোল্ডার থাকে ( ওয়েব পেজের ক্ষেত্রে অনেক সময় ফাইল সেজে রাখার জন্য CSS, Image এবং JS আলাদা ফোল্ডারে রাখা হয় ) গুগল ড্রাইভে আগের দেখানো পদ্ধতিতে সেই ফোল্ডার গুলোর ভিতরে Create করে সেটির ভিতর ঢুকে সেখানেও File গুলো ( যে ফাইল গুলো আপনার লোকাল মেশিনের সেই নামের ফোল্ডারে ছিল) আপলোড করুন । ফাইল আপলোড শেষ হলে এবার শেয়ার করার পালা । যেহেতু মাত্র একটি ফাইল নয় পুরো ফোল্ডারটি ই শেয়ার করবো আমরা, তাই Folder এর উপর রাইট ক্লিক করে Share… এ ক্লিক করুন । আমার ক্ষেত্রে ফোল্ডারের নাম mywebhost. আপনার Folder টি খুজে না পেলে বাম পাশ থেকে New button এর নিচ থেকে My Drive এ ক্লিক করুন । দেখবেন আপনার Google Dive এর সবগুলো Folder এর লিস্ট আপনার সামনে ।
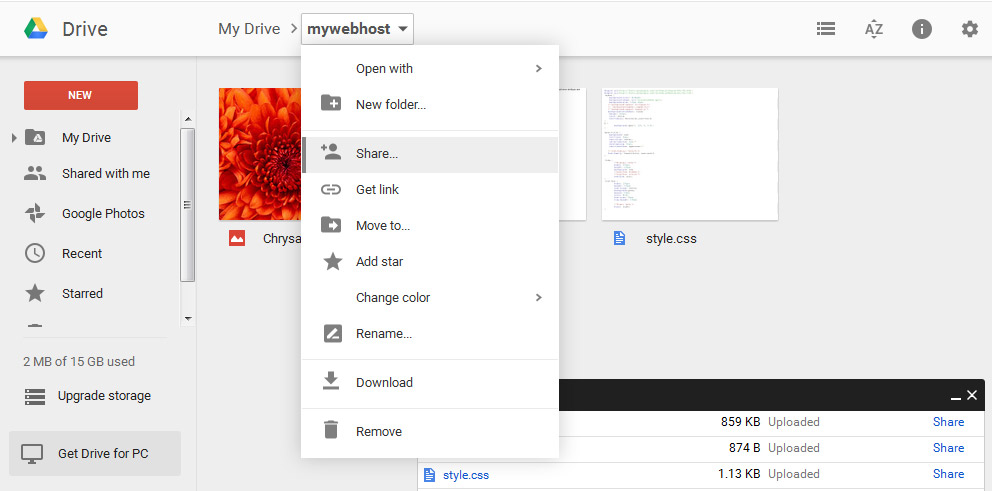
start sharing files
একটু পর Share With Others নামে একটি পপআপ বক্স আপনাদের সামনে আসবে । সেখান থেকে Advanced ( ডান পাশে নিচে ) এ ক্লিক করুন ।
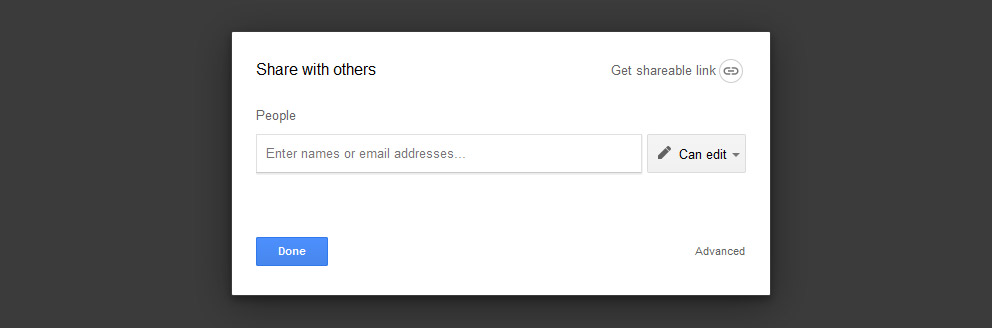
share with others
এর পর Sharing Settings এর একটি পপআপ বক্স আসবে । সেখান থেকে Change এ ক্লিক করুন ।
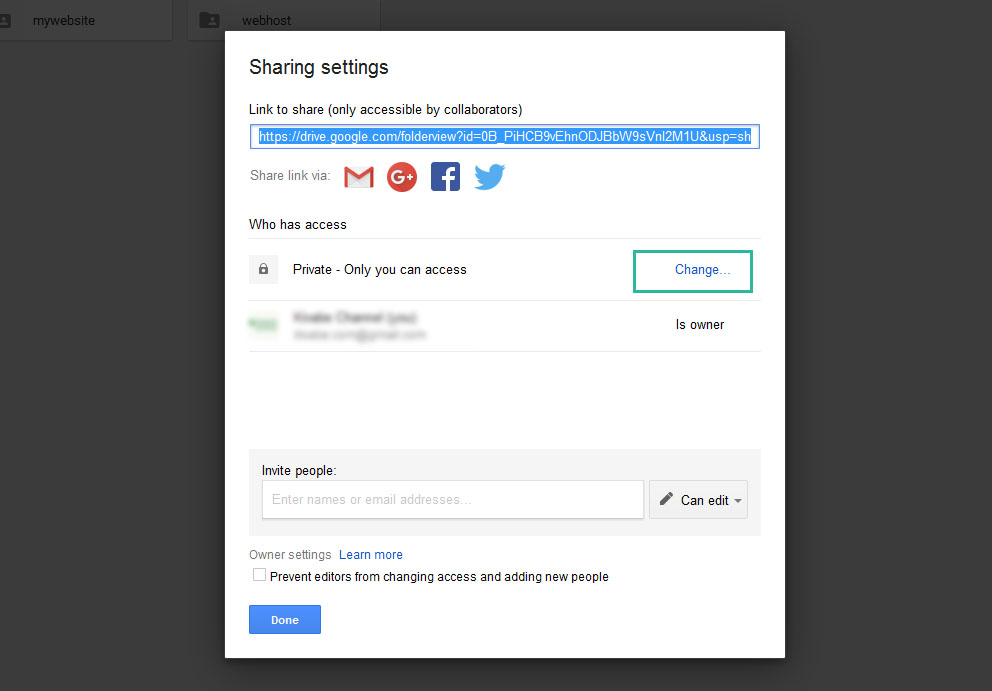
Sharing settings
এর পর link sharing এর একটি পপআপ আসবে । সেখান থেকে On – Public on the web এ ক্লিক করুন এবং তার পর Save বাটনে ক্লিক করুন ।
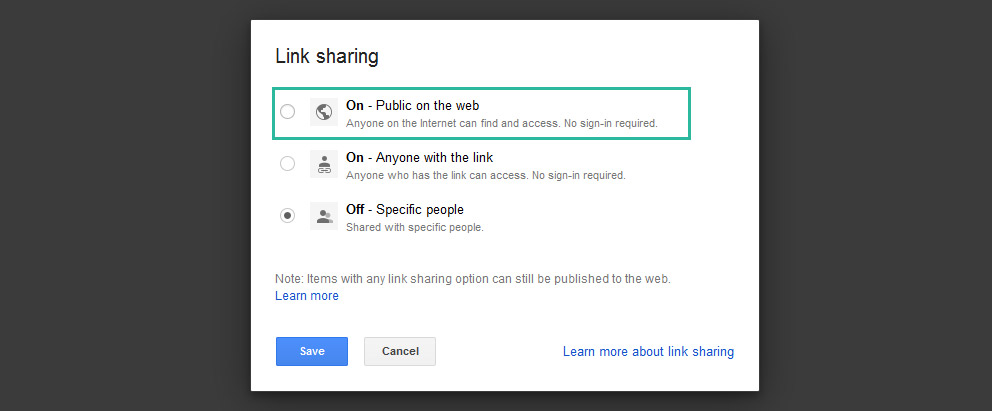
link sharing
এর পর আপনি আবার Sharing Settings এর পপআপ বক্সে আসবেন । এবার এখান থেকে Link to Share এর ঘর থেকে link টি কপি করুন । এবং Done এ ক্লিক করুন ।

copy link
এবার কপি করা লিংকটি থেকে আমাদের শুধু আই ডি টি কপি করা লাগবে । তাই কোন টেক্সট এডিটর বা যে কোন জায়গায় পুরো লিংকটি পেস্ট করে শুধু ID ভেলু টি কপি করুন ।

copy only id value from the URL
আমার ক্ষেত্রে এখানে আইডি ভেলু হচ্ছে 0B_PiHCB9vEhnODJBbW9sVnI2M1U এবার এই আইডি ভেলুটি নিয়ে আমাদের WEB URL টি বানাতে হবে ( আগের কপি করা লিংটি শেয়ার করলে ওয়েব পেইজ আকারে শেয়ার হবেনা কিংবা বলা ভালো ওয়েব কোড গুলো Execute করবেনা ) । ত চলুন দেখা যাক কিভাবে গুগল ড্রাইভে ওয়েব পেইজের ঠিকানা করা যায় । ঠিকানাটি হবে www.googledrive.com/host/ এর পরে কপি করা আইডি টি বসিয়ে । আর আমার ক্ষেত্রে ঠিকানাটি হবে নিচের মত
http://www.googledrive.com/host/0B_PiHCB9vEhnODJBbW9sVnI2M1U
এবার এই ঠিকানাটি শেয়ার করুন  আপনার ওয়েব পেইজটি সবায় দেখতে পাবে এবার
তো এই ছিল আমার আজকের ছোট্ট টিউটোরিয়াল, গুগল ড্রাইভে ফাইল হোস্ট করার পদ্ধতি। ভালো থাকবেন আর কোন কনফিউশন থাকলে কিংবা কিছু বলার থাকলে নিচে কমেন্ট করে আমাদের জানান ধন্যবাদ